Supercharge Your Knowledge Capture Workflow with the Obsidian Web Clipper
Stop juggling multiple tools and supercharge your knowledge capture workflow with Obsidian's powerful Web Clipper browser extension
Stop juggling multiple tools and supercharge your knowledge capture workflow with Obsidian's powerful Web Clipper browser extension.
In this article, I want to explore how Obsidian's Web Clipper can simplify and improve your knowledge capture workflow, while reducing your dependency on multiple tools/platforms.
Introduction
If you use Obsidian as your main knowledge management solution, you probably juggle between different tools to capture information on the Web, convert it to Markdown, and import it into your Obsidian vault.
Solutions such as Readwise, Instapaper and Pocket simplify the process, but they're often not free. In addition, the integration with Obsidian is not always seamless. All in all, while some are great, they add complexity and costs that you might not really need.

I've already argued in favor of using fewer tools and depending on fewer online platforms. That's a first reason why I'm psyched about the Obsidian Web Clipper.
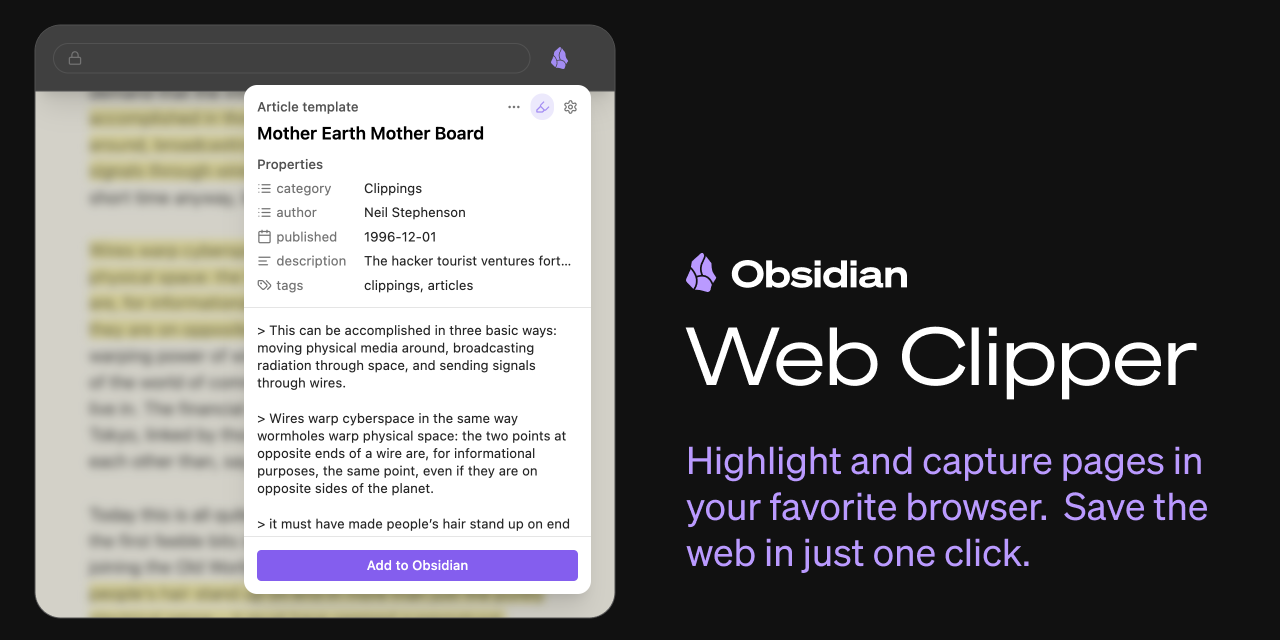
It's a free and open-source Web browser extension created by Steph Ango, the CEO of Obsidian, and maintained by the Obsidian team. It's an official companion to Obsidian, so it's here to stay. In this article, I want to show you how cool it is.
The Obsidian Web Clipper makes it a breeze to curate/capture content and highlights from anywhere on the Web, convert it to Markdown, and to send it all to your Obsidian vault(s).
Let's dive in!
Listen to this
I have used NotebookLM to generate a podcast version of this article. You can find it here:
What Makes the Obsidian Web Clipper Special?
At its core, the Web Clipper is a bridge between your web browsing and your knowledge base. But it's much more than just another capture tool.
Key capabilities that set it apart:
- Direct Markdown conversion and vault storage
- Automatic metadata extraction (title, author, publication date)
- AI-powered content interpretation
- Customizable capture templates
- Multi-vault support for organized knowledge separation
Most importantly, it works across all major browsers: Chrome, Firefox, Safari, Edge, Brave, Arc, and more.
Beyond Basic Web Clipping
One of the coolest features of the Obsidian Web Clipper is its Interpreter. Instead of just saving raw content, you can extract exactly what you want and transform it using AI.
Using the Obsidian Web Clipper, you can define AI prompts to analyze/transform the content as you wish. Those prompts then get either manually or automatically executed using your preferred Large Language Models (LLMs).
For example, you can use prompt variables such as {{" a summary of the page"}} to generate a summary of the content, and include it in the result. This is mighty powerful! This means you're not limited to collecting information. You can process and transform it any way you want.
With this, you can do tons of cool things:
- Summarize a page or section
- List the key points of an article
- Transform the content (e.g., translate it)
- Extract specific bits and pieces
- ...
Some examples:
{{" 5 key takeaways from this article"}}
{{" Extract the main arguments presented"}}
{{" Create a summary focused on [specific topic]"}}
Note that this feature might cost you money, depending on which Large Language Model you use. For instance, if you use Claude or GPT4 o1, the extension will use API credits to process the information.
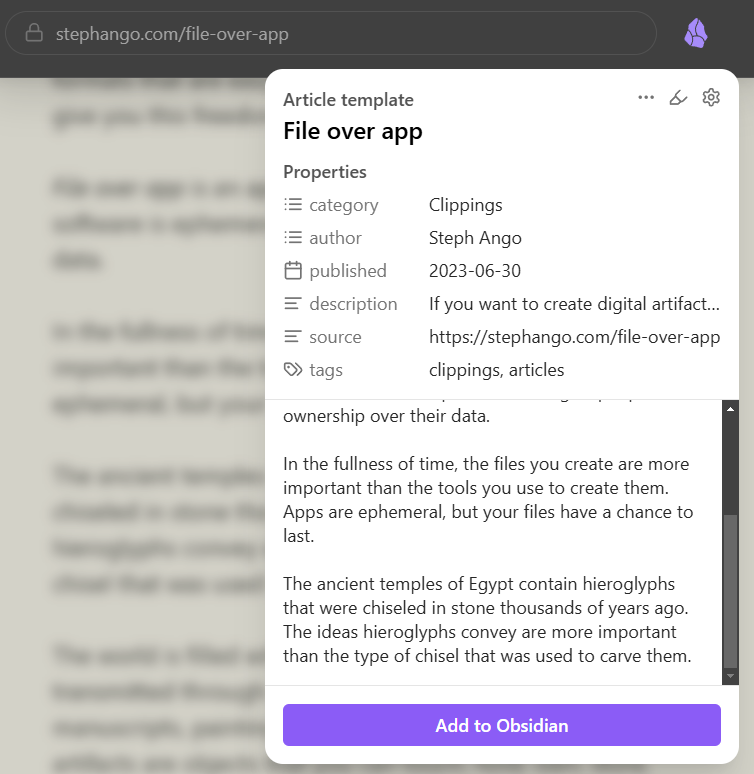
Moreover, the Obsidian Web Clipper not only lets you capture and transform content. It's also able to extract metadata (e.g., page title, tags, og meta, and more!). And it's also possible to use AI prompts to transform metadata.
Once captured, the information goes into your Obsidian vault(s), along with the metadata:
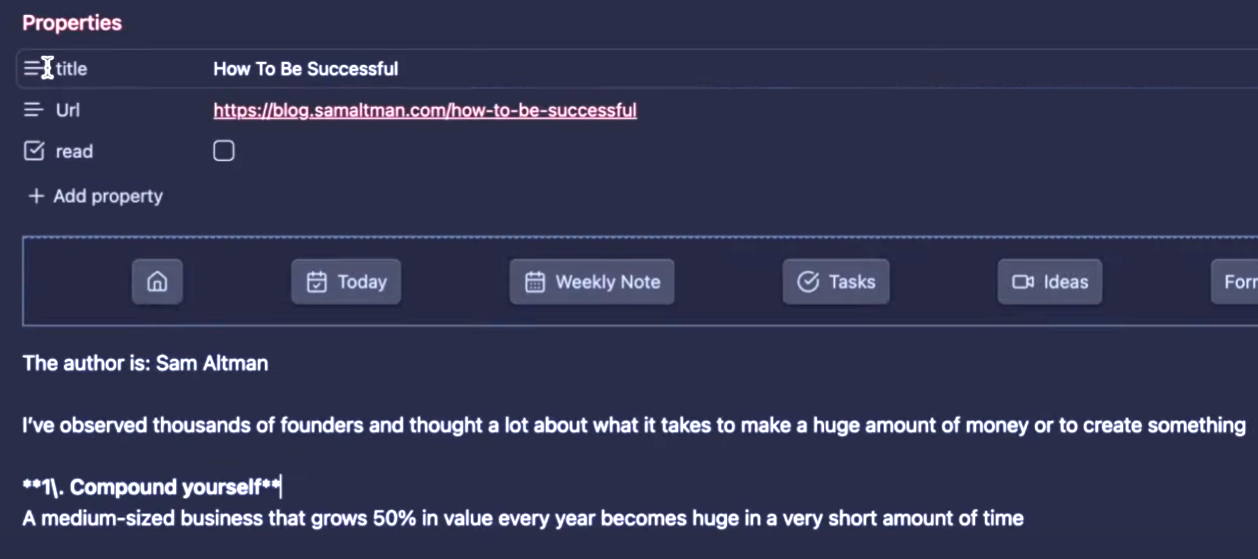
Last but not least, the extension lets you create and use specific templates based on different rules (e.g., one template for Hacker News, another for arXiv, another for YouTube, etc).
You can actually find many templates created by the community over here:
You'll find all the links in the references section at the end of this article.
Key Concepts of the Obsidian Web Clipper
- Extension: the Obsidian Web Clipper is an extension that runs inside of your Web browser and enables you to capture information
- Templates: create and use templates to customize the information and metadata to capture depending on the Website or type of content
- Highlighter: enables highlighting different parts of the page, and seeing all the already highlighted elements
- Variables: enables capturing different elements (e.g., the page title, the description, the content, etc)
- Prompt variables: variables that use natural language prompts and AI to transform information
- Interpreter: uses AI to process/transform information using Large Language Models based on the prompt defined in a prompt variable
- Filters: functions that you can add to variables and prompt variables to further transform the information (e.g., transform text, dates, and a lot more)
How to Install the Obsidian Web Clipper
To install the Obsidian Web Clipper, just go to the official website: https://obsidian.md/clipper and install the extension.
Usage
To capture information on a page, you can either click on the icon of the extension, or highlight content and right click to invoke the Obsidian Web Clipper:

In that context menu, you can choose to
- Capture the whole page
- Add the selected text to the list of highlights you want to capture
- Open the side panel
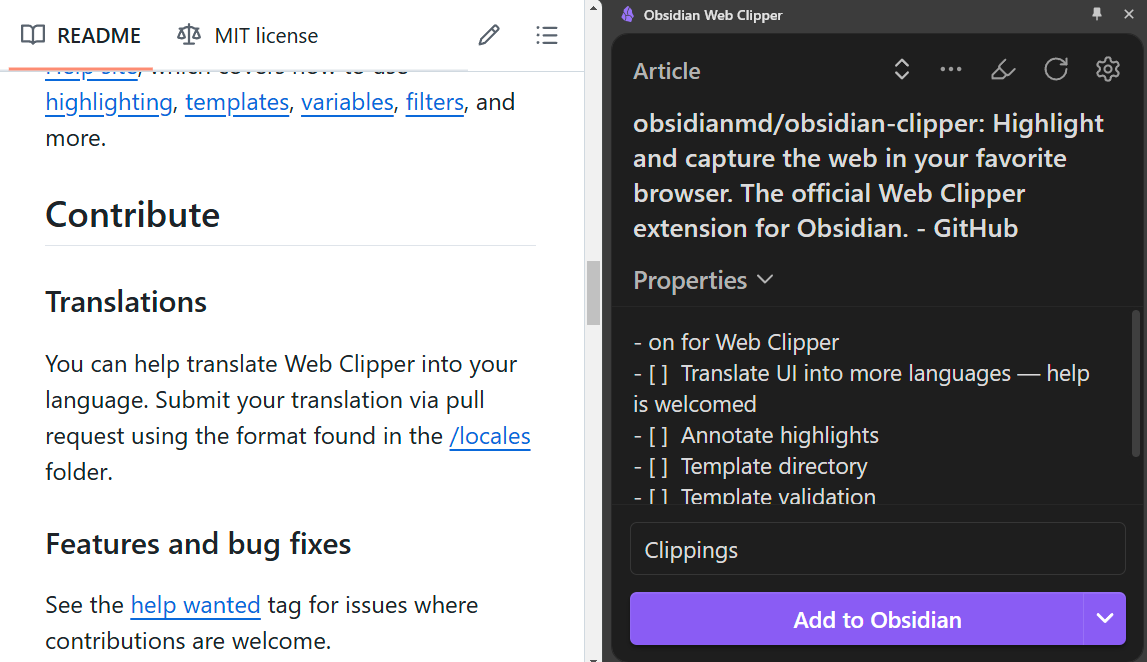
The side panel show the same panel shown when clicking on the extension icon, but it always remains visible on the side:
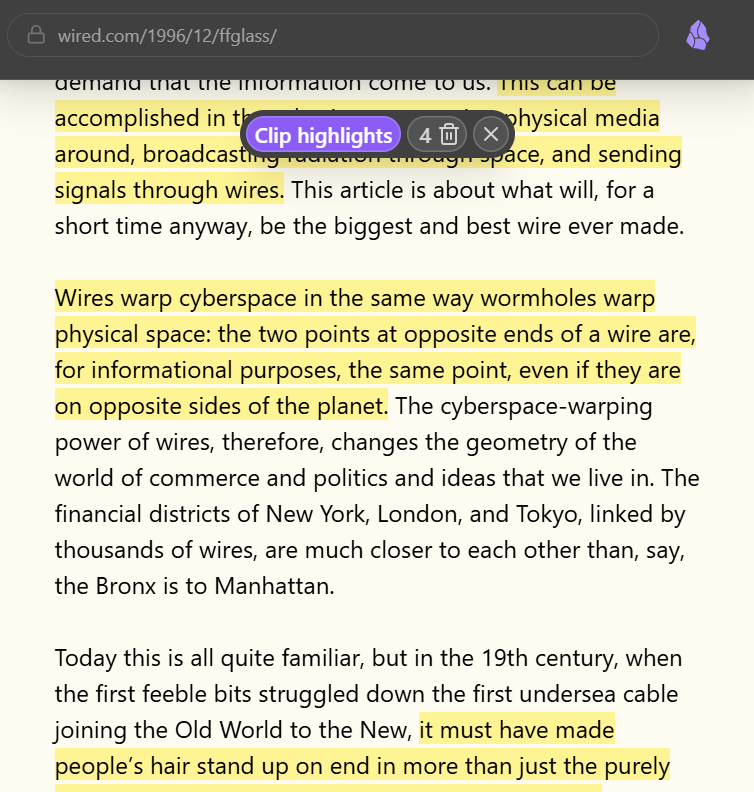
You can also enable/disable the highlighter by clicking on the extension icon, and clicking on the highlighter button:

Once the highlighter is enabled, you can highlight elements on the page:

Next to that button, you can also select the template to use for capturing content.
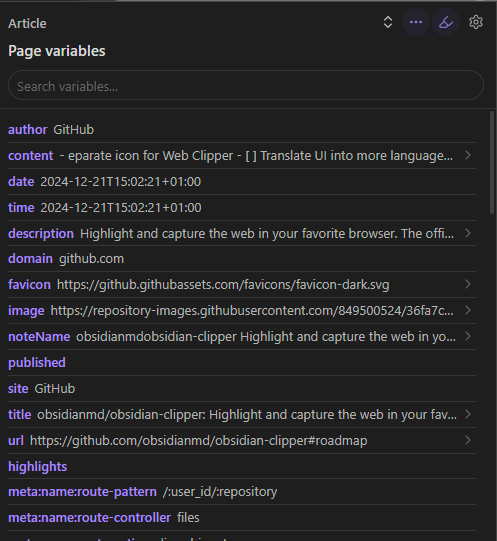
If you click on the three dots, you can see the list of metadata that the Obsidian Web Clipper has detected on the current page:
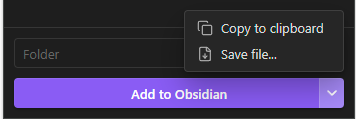
At the bottom of the extension pane, shown when clicking on the extension icon, you can:
- Change the folder in which the information will be saved to in your Obsidian vault
- Capture the content and send it to your vault
- Capture the content and send it to the clipboard
Capture the content and save it to a file on your computer
Last but not least, to use the Interpreter, you'll first need to enable and configure it in the settings. I will cover this in the next section.
Configuration
In the settings, you can configure various things. Let's explore the main parts.
Target vault(s)
First, you can define the vault(s) in which you want the extension to save captured content. You can add multiple ones if needed:

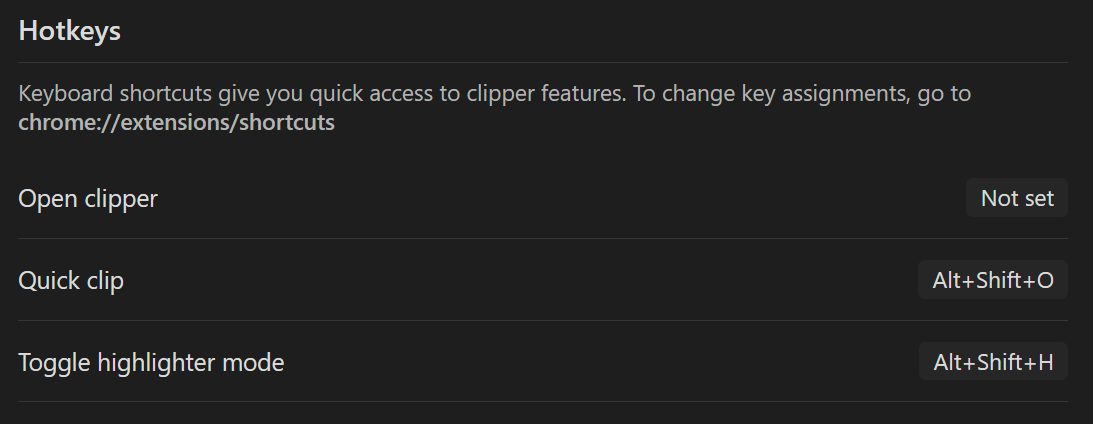
Hotkeys
You can also customize the hotkeys used to open the clipper, quickly clip information, and toggle the highlighter mode:
Templates
You can create custom templates, defining what to capture, how to name the created notes, which note templates to use, etc
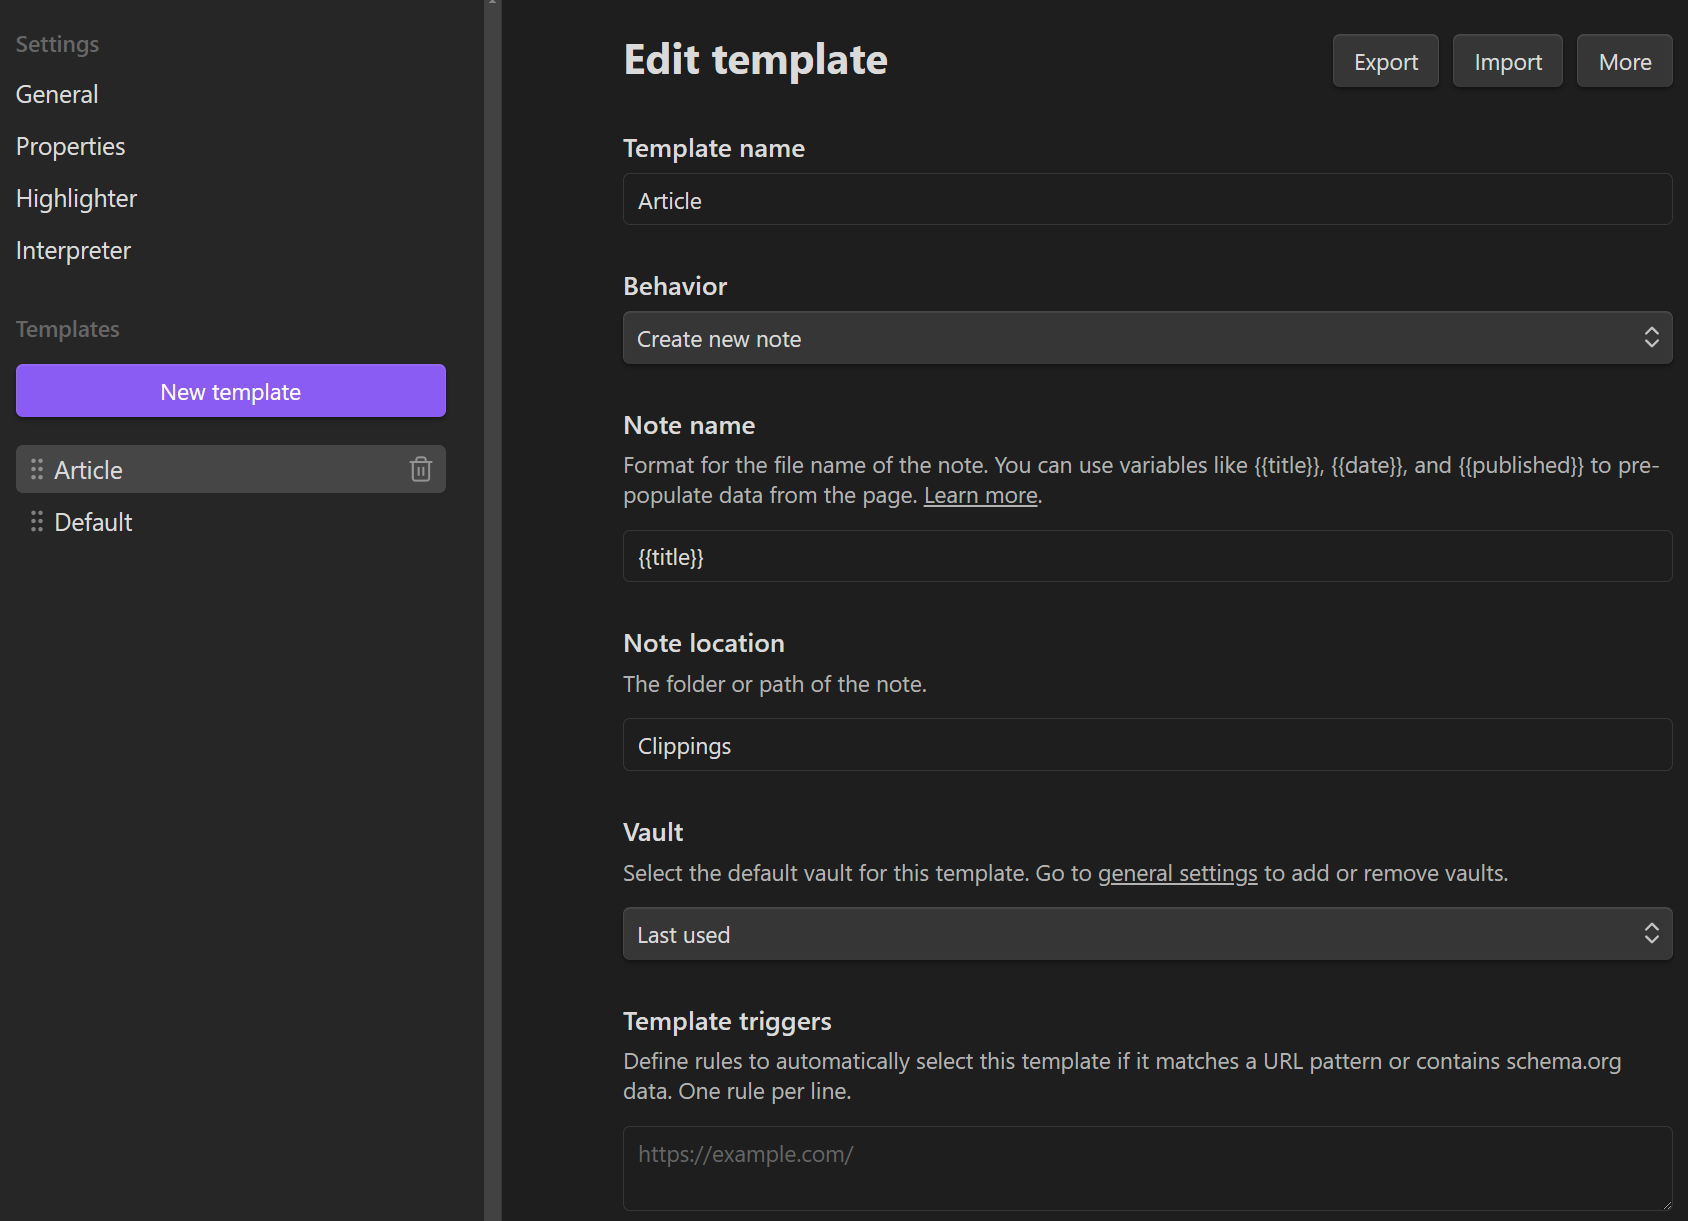
When creating or editing templates, under "Behavior", you can choose what the extension should do:
- Create a new note
- Add the content to an existing note, either at the bottom or at the top
- Add to a daily note, either at the bottom or at the top
When creating new notes, the name and location can also be configured.
It's also possible to define template triggers, defining a set of rules that the extension will use to automatically select the right template depending on various conditions (e.g., URL pattern, etc).
Note metadata can also be captured thanks to the "Properties" section. In there, you configure mappings between note metadata property names and variables exposed by the extension.
Those variables correspond to different pieces of information that the extension can automatically extract for you (when available). Those variables can be used not only within the properties section, but also to define note names, etc.

As of today (December 2024), the following ones are supported:

It's also possible to use filters to modify variables and post-process the information. For instance, filters enable converting dates to certain formats, text to uppercase or lowercase, etc.
Filters are used like this: {{variable | filter1 | filter2 }}. This is a pretty common syntax for chaining filters. You can think of it like this: the extension will extract information that corresponds to the variable (e.g., the page title). Then it will apply filter1. Then it will apply filter2, etc.
Here are some of the currently supported filters:
- Dates
- date: converts a date to the specified format
- date_modify: modifies a date by adding or substracting a specified amount of time
- duration: converts ISO 8601 duration strings or seconds into formatted time strings
- Text conversion and capitalization
- capitalize: capitalizes the first character of the value and converts the rest to lowercase
- lower: converts text to lower case
- upper: convers text to upper case
- title: converts text to
Title Case - camel: converts text to
camelCase - kebab: converts text to
kebab-case - pascal: converts text to
PascalCase - snake: converts text to
snake_case - replace: replaces occurrences of specified text
- trim: remove white space from both ends of the text
- safe_name: converts text to a safe file name (using conservative and OS-specific sanitization rules)
- ...
- Text formatting
- blockquote: adds a Markdown quote prefix (
>) to each line of the text - callout: creates a callout with optional parameters
- footnote: converts an array or object into a list of Markdown footnotes
- image: converts strings, arrays, or objects into Markdown image syntax
- link: converts strings, arrays, or objects into Markdown link syntax (not the same as wikilink)
- list: converts an array to a Markdown list
- table: converts an array or array of objects into a Markdown table
- ...
- blockquote: adds a Markdown quote prefix (
- Numbers
- HTML processing
- markdown: converts a string to an Obsidian Flavored Markdown formatted string
- ...
- ...
You can find the full list of filters here
Interpreter
In the settings, you can enable/disable the Interpreter feature, and configure it.
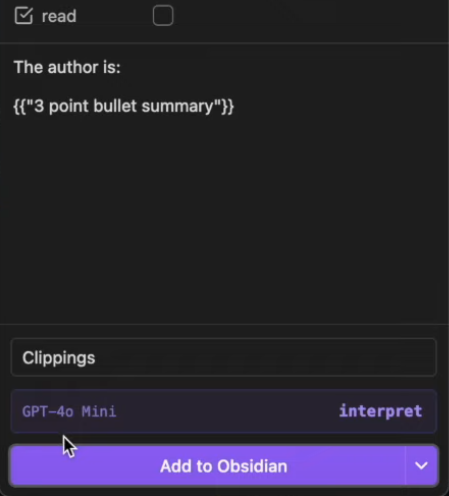
You can either let it run automatically, which will automatically run prompt variables, or you can turn it off if you only want to run interpreter manually to save money. If you turn it off, then you'll need to click on the "Interpret" button when capturing information:
You can also add Large Language Models (LLMs) and API keys:
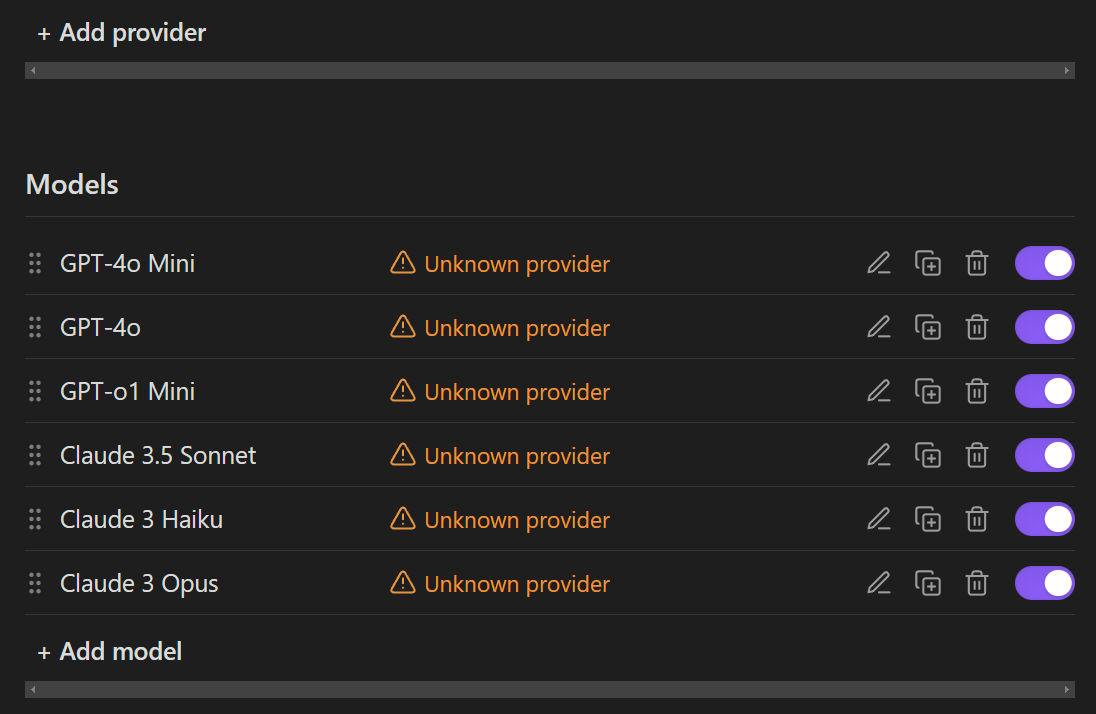
Once your model(s) and API key(s) are configured, you can add expressions known as prompt variables within your templates (cfr previous point).
Pro Tips
Here are a few recommendations:
- Create your own templates for specific purposes (e.g., article, discussion, research article, etc)
- Leverage variables, prompt variables and filters to extract exactly what you need
- Capture the metadata you want to keep
- Consider that pages on the Web disappear all the time, so you might not have a second chance
- Use the Interpreter to enrich the information you capture
- Use it to generate summaries, extract key concepts and definitions, identify supporting or contrarian ideas, list key takeaways, etc
- Store the captured information in a specific location within your vault to avoid mixing what you have captured and your own ideas
- Consider using daily notes for quick captures
- Consider using a separate vault for captured content, even though I'm not a big fan of that idea for practical reasons
- Use consistent naming conventions for your captured notes
- Regularly review what you have captured
- If you do nothing with what you capture, it's meaningless to capture in the first place
- Connect the ideas with the rest of your knowledge base
- Don't forget to backup your Obsidian vault
Generally speaking, consider that content capture is an important part of your Personal Knowledge Management System (PKMS)
How to install Obsidian Web Clipper Community Templates
To install community templates, you can follow these steps
- Go to the community templates repository
- Click on any template you're interested in
- Click on the download icon (download raw file) in the top right corner to download the JSON file
- Open the Web Clipper Extension panel and click the Settings cog icon
- Go to any template in the list
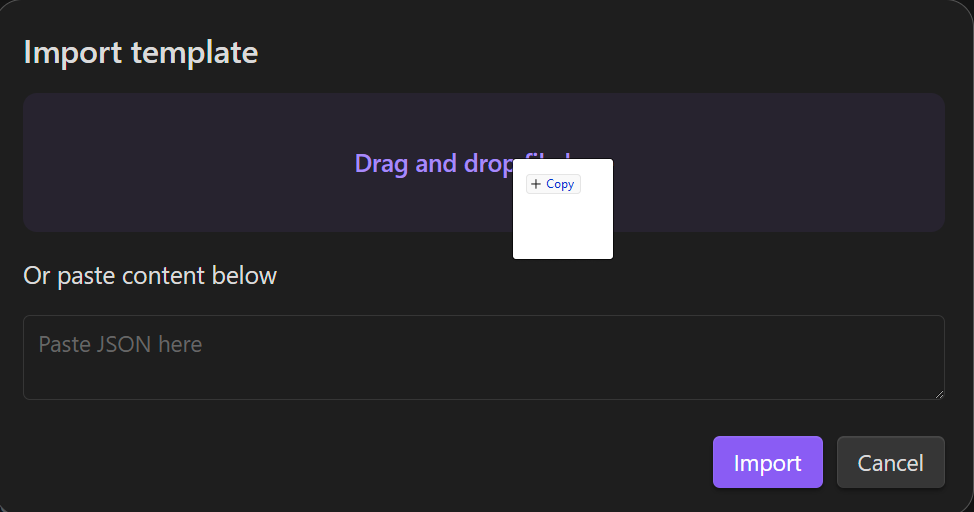
- Click Import in the top right or drag and drop your
.jsontemplate file(s) anywhere in the template area

Going Further
Ready to take your PKM system to the next level? The Obsidian Starter Kit includes pre-configured templates and detailed workflows that will save you a ton of time. These templates are designed to help you process and organize captured knowledge effectively, turning information into actionable insights.

Conclusion
I've been quite surprised by the rapid progress of the Obsidian Web Clipper, and I really love the AI features. It adds a lot of horsepower to my content capture workflow. I strongly recommend you to check it out if you're using Obsidian.
I hope that you enjoyed this article.
If you want more like these, don't forget to subscribe and share the link with your friends ❤️.
That's it for today! ✨
References
- Official Website: https://obsidian.md/clipper
- Documentation: https://help.obsidian.md/web-clipper
- Templates: https://help.obsidian.md/web-clipper/templates
- Variables: https://help.obsidian.md/web-clipper/variables
- Prompt Variables: https://help.obsidian.md/web-clipper/variables#Prompt+variables
- When to use Prompt Variables: https://help.obsidian.md/web-clipper/variables#When+to+use+prompt+variables
- Highlight web pages: https://help.obsidian.md/web-clipper/highlight
- Filters: https://help.obsidian.md/web-clipper/filtersTroubleshooting: https://help.obsidian.md/web-clipper/troubleshoot
- Roadmap: https://github.com/obsidianmd/obsidian-clipper#roadmap
- Source code: https://github.com/obsidianmd/obsidian-clipper
- Community-created Web Clipper Templates
- Web Clipper channel on Obsidian's Discord server: https://discord.com/channels/686053708261228577/1285652864089198672
- Videos
About Sébastien
I am Sébastien Dubois. You can follow me on X 🐦 and on BlueSky 🦋.
I am an author, founder, and coach. I write books and articles about Knowledge Work, Personal Knowledge Management, Note-taking, Lifelong Learning, Personal Organization, and Zen Productivity. I also craft lovely digital products . You can learn more about my projects here.
If you want to follow my work, then become a member.
Ready to get to the next level?
To embark on your Knowledge Management journey, consider investing in resources that will equip you with the tools and strategies you need. Check out the Obsidian Starter Kit and the accompanying video course. It will give you a rock-solid starting point for your note-taking and Knowledge Management efforts.
If you want to take a more holistic approach, then the Knowledge Worker Kit is for you. It covers PKM, but expands into productivity, personal organization, project/task management, and more:
If you are in a hurry, then do not hesitate to book a coaching session with me:


