How to Give Your AI Agent Access to Your Chrome Browser (And Why You Should Be Scared)

Sometimes your AI agent needs to use a real browser. Here's how to do it safely. And why you should think twice before doing it at all.
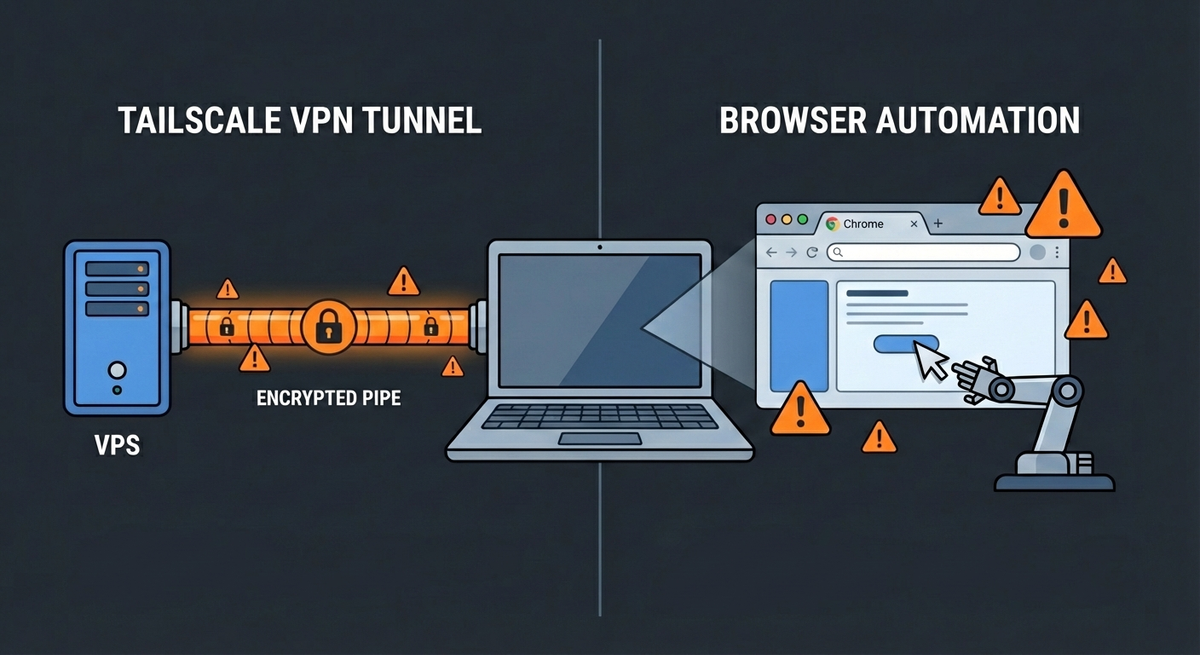
In this article, I want to help you connect OpenClaw to a Chrome browser running on your computer through Tailscale.
Introduction
Your OpenClaw agent running on a Virtual Private Server (VPS) has a headless browser. It works great... until it doesn't.
Cloudflare blocks it. Bot detection stops it. Sites require you to be logged in. Sometimes you just want to see what your agent is doing.
The solution? Let your agent control an instance of Chrome running on YOUR computer.
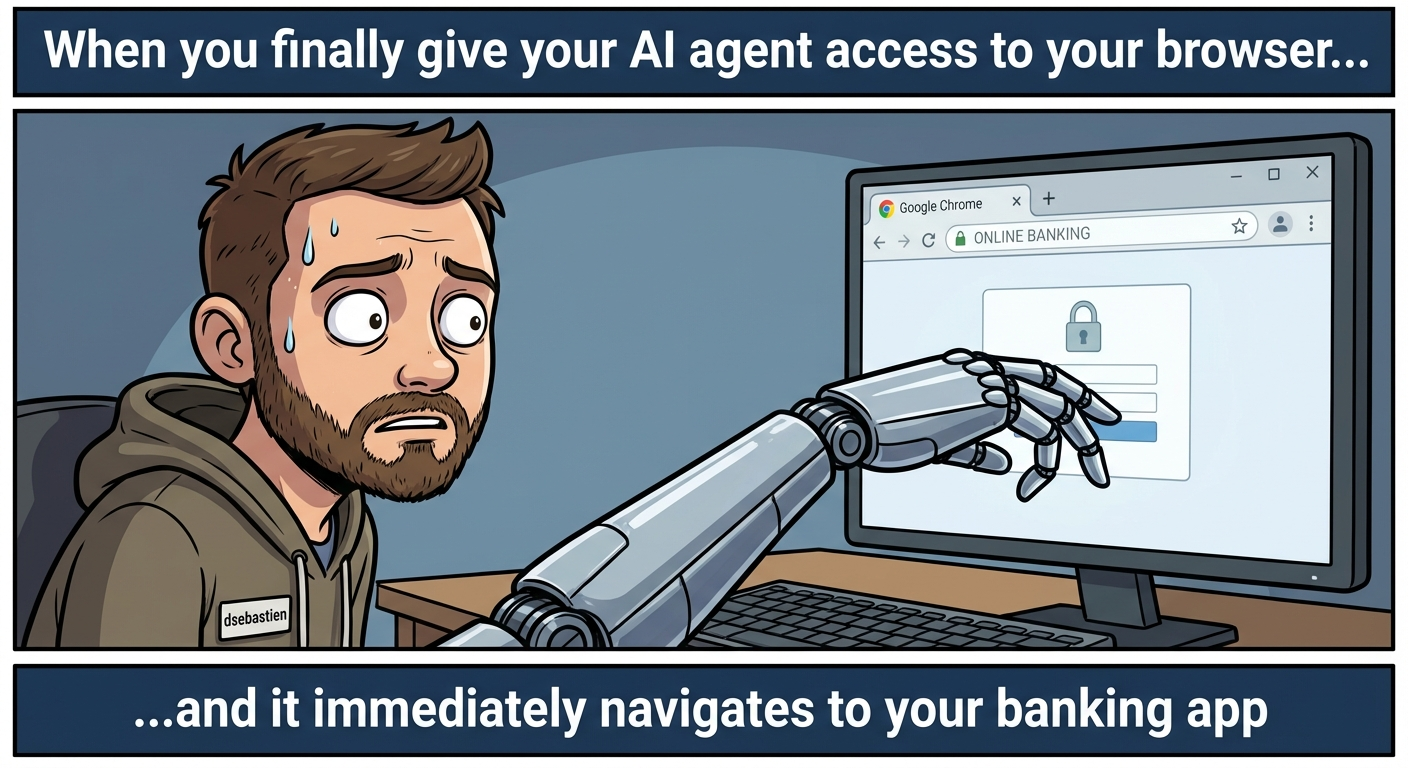
Importantly, you need to understand that this is REALLY dangerous. I'm not exaggerating. Before we go any further, you need to understand what you're risking.
⚠️ Critical Security Warnings
I want to be very clear about this. Exposing your browser to a remote AI agent means:
❌ Your agent can see everything you see: logged-in sessions, cookies, passwords if they're visible
❌ If your VPS is compromised, attackers get your browser: they could access your bank, email, social accounts
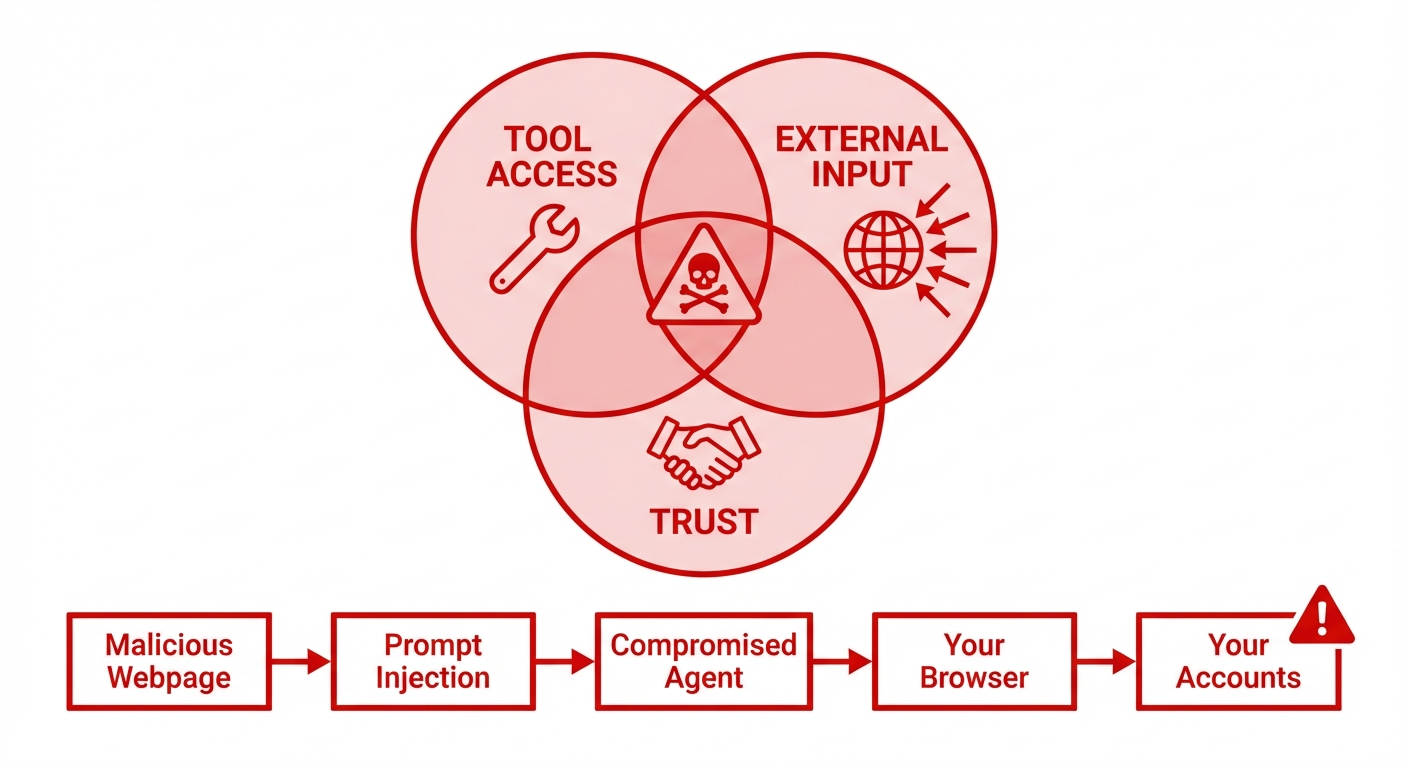
❌ The "Lethal Trifecta" is real: prompt injection can compromise your AI, making it act against your interests
❌ You're creating a direct tunnel into your computer: even through Tailscale, this is a significant attack surface
This is NOT for everyone. Only proceed if you:
- Understand the risks and accept them
- Will use a temporary/dedicated Chrome profile (NOT your main profile)
- Will only expose your browser when actively needed
- Have a working, hardened OpenClaw VPS setup already
Still here? Let's do this as safely as possible.
TL;DR
- Install socat on your computer
- Create a bash function to temporarily expose Chrome
- Configure OpenClaw to connect to your browser's Chrome Debugging Protocol
- Only enable this when actively needed
- Kill the connection immediately when done
Key principle: Minimum exposure time. Never leave this running unattended.
Why You Might Need This
There are legitimate reasons to let your agent use your browser:
- Bypass Cloudflare/bot detection: Sites that block headless browsers work fine with a real one
- Visual supervision: See exactly what your agent is doing in real-time
- Interactive tasks: Let the agent use sites where you're already authenticated
- Debugging: Watch and understand agent behavior before trusting it autonomously
The common thread? Temporary, supervised access.
Prerequisites
Before you start:
- ✅ A working OpenClaw VPS setup (see my guide on secure VPS installation)
- ✅ Tailscale installed and working on both your VPS and computer
- ✅ Chrome installed on your computer
- ✅
socatinstalled on your computer (we'll cover this) - ✅ Tailscale shields-up enabled on your computer by default

Step 1: Install socat
Explanation
socat is a powerful networking utility. We'll use it to expose Chrome's debug port (normally localhost-only) to your Tailscale network.
Commands
On macOS:
brew install socat
On Ubuntu/Debian:
sudo apt install socat
On Arch Linux:
sudo pacman -S socat
Step 2: Get Your Tailscale IPs
Explanation
You need the Tailscale IP of both machines.
Commands
On your computer:
tailscale ip -4
# Note this down - this is YOUR Tailscale IP
On your VPS:
tailscale ip -4
# Note this down - this is your VPS's Tailscale IP
Common Pitfalls
⛔ Don't mix these up. Your computer's IP goes in the OpenClaw config. Your VPS's IP is what you DON'T want reaching your machine normally.
Step 3: Configure OpenClaw Browser Profile
Explanation
Tell OpenClaw how to connect to your browser when needed.
Commands
On your VPS, edit the OpenClaw configuration:
nano ~/.openclaw/openclaw.json
Add a browser profile inside the "browser" object:
"browser": {
  "enabled": true,
  "profiles": {
    "your-browser": {
      "cdpUrl": "http://<your-computer-tailscale-ip>:9223"
    }
  }
}
Replace <your-computer-tailscale-ip> with your actual Tailscale IP from Step 2.
Common Pitfalls
⛔ Use port 9223 (what socat exposes), not 9222 (port used by the Chrome DevTools Protocol (CDP)).
Step 4: Create the Browser Exposure Function
Explanation
This bash function does several things safely:
- Temporarily lowers your Tailscale shields (aka Tailscale firewall)
- Starts Chrome with debugging enabled using a TEMPORARY profile
- Starts socat to expose the debug port
- Automatically cleans up when you're done (Ctrl+C)
- Re-enables Tailscale shields
Commands
Add this to your ~/.bashrc or ~/.zshrc:
chrome-openclaw() {
    local TS_IP=$(tailscale ip -4)

    echo "⚠️  WARNING: This exposes your browser to your VPS!"
    echo "🔓 Lowering Tailscale shields..."
    sudo tailscale set --shields-up=false

    echo "🚀 Starting Chrome + socat on $TS_IP:9223..."
    google-chrome-stable --remote-debugging-port=9222 \
        --user-data-dir=/tmp/openclaw-chrome &
    local CHROME_PID=$!
    sleep 2
    socat TCP-LISTEN:9223,bind=$TS_IP,reuseaddr,fork TCP:127.0.0.1:9222 &
    local SOCAT_PID=$!

    echo "✅ Ready! OpenClaw can connect to your-browser profile."
    echo "Press Ctrl+C to stop and re-enable shields."

    cleanup() {
        echo ""
        echo "🧹 Cleaning up..."
        kill $CHROME_PID $SOCAT_PID 2>/dev/null
        echo "🛡️ Raising Tailscale shields..."
        sudo tailscale set --shields-up=true
        killall socat 2>/dev/null
        echo "✅ Done. Your machine is protected again."
    }
    trap cleanup INT TERM EXIT

    wait $CHROME_PID 2>/dev/null
}
Reload your Bash profile:
source ~/.bashrc # or source ~/.zshrc
Common Pitfalls
⛔ Notice the temporary profile: --user-data-dir=/tmp/openclaw-chrome. This is NOT your main Chrome profile. Your bookmarks, passwords, and cookies are NOT exposed.
⛔ If you MUST use your real profile (I strongly advise against this), replace that path with your actual Chrome profile directory. But understand: you're giving your agent, and potentially attackers, access to EVERYTHING.
Step 5: Using the Connection
Explanation
Here's the workflow for safe usage.
Steps
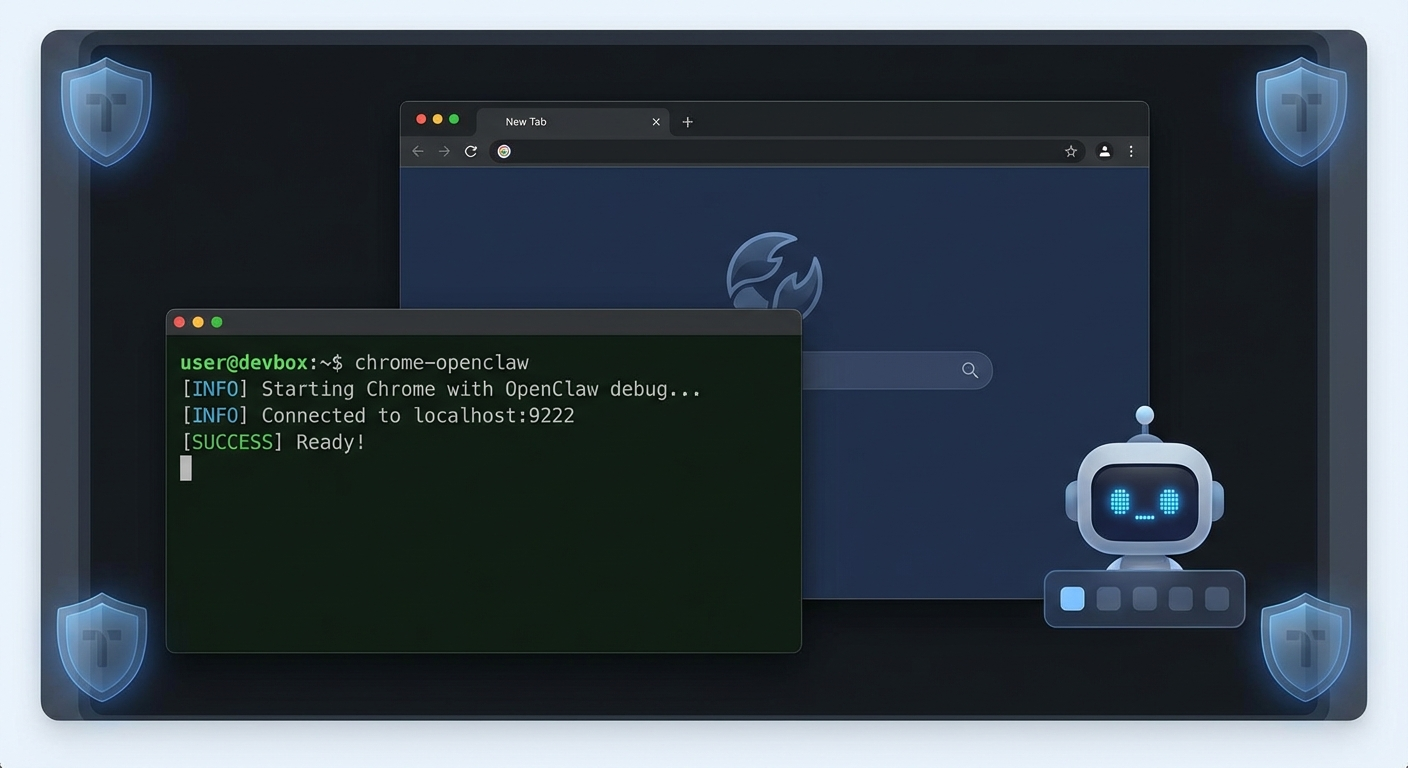
- On your computer, run:
chrome-openclaw
- Enter your password if needed (to get root privileges)
- Wait for the "Ready!" message
- On your VPS (or via the OpenClaw interface), tell your agent to use the
your-browserprofile - Watch your agent work in the Chrome window
- When done, press Ctrl+C in the terminal running
chrome-openclaw - Verify cleanup:
# Make sure socat is dead
killall socat

# Verify shields are up
tailscale status
Common Pitfalls
⛔ Don't walk away while this is running. This is for SUPERVISED use only.
⛔ If the script crashes without cleanup, manually run:
sudo tailscale set --shields-up=true
killall socat
killall chrome
When NOT to Do This
Let me be clear. Don't use this feature if:
- ❌ You're not actively watching the browser
- ❌ You're running it overnight or unattended
- ❌ You haven't fully tested your OpenClaw setup first
- ❌ You're using your main Chrome profile
- ❌ You're logged into sensitive services (banking, etc.)
- ❌ You don't understand what prompt injection is
The Lethal Trifecta for AI Agents is: tool access + external input + trust. When your agent browses the web, it can encounter malicious prompts designed to hijack its behavior. If it has access to YOUR browser, those prompts can compromise YOUR accounts.
Additional Safety Measures
Use a Minimal Browser Profile
The function creates a fresh profile in /tmp. But you can go further:
# Create a persistent but minimal profile
mkdir -p ~/.openclaw-browser-profile
Then modify the function to use --user-data-dir=$HOME/.openclaw-browser-profile.
Set Time Limits
Modify the function to auto-close after N minutes:
# Add this after the "Ready!" message
(sleep 1800 && cleanup) &  # Auto-cleanup after 30 minutes
Tell Your Agent the Rules
In your OpenClaw workspace configuration (SOUL.md or similar), add:
CRITICAL: When using my browser, you MUST inform me before doing so. Wait for my explicit approval. NEVER use my browser without my knowledge.
Conclusion
You now know how to give your AI agent access to your Chrome browser through Tailscale. The key takeaways:
- This is dangerous: understand the risks before proceeding
- Use a temporary profile: never expose your main browser
- Minimize exposure time: only enable when actively needed
- Supervise actively: watch what your agent does
- Clean up properly: always re-enable shields when done
The power of AI agents comes with real responsibility. Browser access is one of the most powerful, and risky, capabilities you can give them. Use it wisely, sparingly, and with your eyes open.
That's it for today! ✨
Related
- OpenClaw
- Tailscale
- Chrome Debug Mode
- Chrome DevTools Protocol (CDP)
- Agentic Knowledge Management (AKM)
- Understanding why agents need these capabilities: https://www.dsebastien.net/agentic-knowledge-management-the-next-evolution-of-pkm/
- How to Self-Host OpenClaw Securely on a VPS: https://www.dsebastien.net/how-to-self-host-openclaw-securely-on-a-vps-a-security-first-guide/
- Lethal Trifecta for AI Agents
- AI Agents
- socat
- Linux
- Firewall
About Sébastien
Ready to get to the next level?
Found this valuable? Share it with someone who needs it.